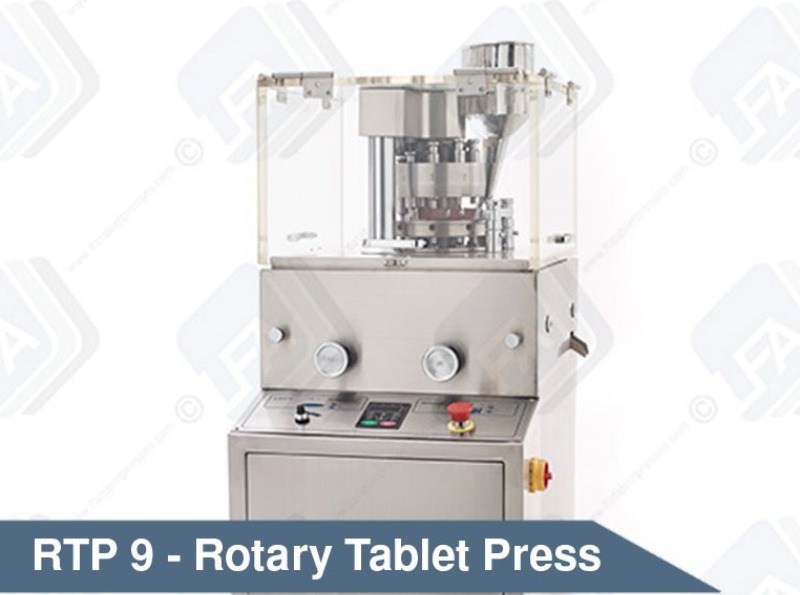
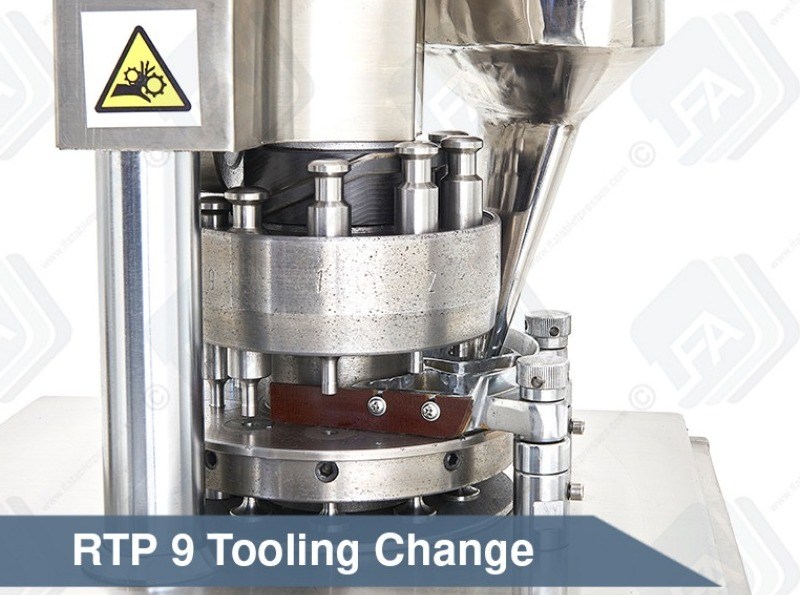
RTP 9 Tooling Change Faster Method
Welcome to LFA’s video on changing your RTP 9 tooling. Knowing how to change your tooling is extremely important when it comes to using a tablet press. We believe this is the fastest and most efficient method for changing your RTP 9 tooling.
First, we’re going to remove perspex shield to give us easier access to the upper punches. We’re first going to remove the hopper with a 5mm Allen key. These bolts also adjust how close your hopper is to your turret table. If your powder isn’t flowing fast enough release the bolts slightly to raise the hopper from the table. If your hopper is release powder too fast, adjust the hopper so its closer to the turret table.
Next, we’re going to free the perspex case by releasing the 4 5mm Allen key bolts on the top. Once this is done you’ll simply be able to lift off the case.
Now remove the fill tray, we’re going to do this by undoing the feeder tray thumb bolts. Slot an Allen key through the holes on the bolt to break them, then undo by hand. Once undone the feeder tray will be free.
We now have access to the upper punches. To allow us to remove them we first need to remove the upper tracking key. Rotate the turret so the punches are not on top of it. Taking a 4mm Allen key to undo the bolt and remove the keyed section.
Now rotate the turret using the hand turning wheel and remove the upper punches from where the key was.
To remove the lower punches we first need to access the bottom section of the machine, take the 2 keys that come with the RTP 9 and place then into the slots on the side panel and turn. This will release the panel.
Next, we push the small puck up and take it out, this will allow us to take the lower punches out through the bottom. Now gently pull the punch down through the hole being sure you’re holding it firmly so it doesn’t fall and get damaged.
As with the upper punches, we now rotate the turret by hand using the handwheel to the next station and remove the punch from there and continue this till all the punches have been removed.
Finally, we need to remove the dies from the turret. Instead of using the bars that come with your machine, we’re going to remove the turret which is a much faster method.
Take the 36mm wrench which comes with your RTP 9and undo the 2 large nuts holding the upper cam housing in place. Liftoff the upper cam housing whilst holding the tracking at the same time as this may fall.
The turret will simply lift straight out of the machine but be careful as it is heavy.
Place the turret upside down on a hard work surface.
The first thing we need to do is ensure we’ve removed the grub nuts that hold the dies in place.
Now insert your drive bar and gently strike the die till it pushes through and out of the turret.
Once the dies have been removed, you can either place the dies back in whilst the turret is out of the machine or replace the turret and then the dies.
Place your turret back over the main shaft using the keyed section. Then replace the upper cam housing and tracking and re-do the 36mm bolts.
Now we’re going to put our new tooling into the machine, first, we start with the dies. When re-inserting the dies we suggest putting a small amount of food-safe assembly grease around the edge of the die which will assist in placing the tooling in and removing it later.
Take your die and line it up with the die hole on the turret. It’s extremely important that this goes in straight otherwise it may potentially damage your tooling and machine.
Insert the drive bar through the upper punch guide hole, lightly press down on the die to ensure it’s straight. Lightly tap down on the die to start to drive it down into the die hole. You want to ensure that the die is flush with the turret. Run your finger across the top, it needs to be completely flush.
Re-insert the grub nut we removed earlier, do not overtighten as we will tighten with a torque wrench to ensure it’s correct, using a torque wrench we will tighten to 14 foot-pounds.
Before re-inserting your punches we suggest putting some barrel lubrication around the barrel of your punches.
Now we can start to insert our lower tooling. When doing this we need to be careful with the tips of the punches as they’re fragile. Take a punch to insert it through the lower hole carefully and up into the die. Whilst doing this rotate the machine by hand slowly whilst being careful with your fingers. Turn to the next station and repeat the process till all punches are in place, on your final punch push it up higher to re-insert the puck to ensure the lower punch won’t fall out.
After doing this, do a couple of full rotations by hand to see if the punches are running smoothly.
At this point, you can place your feeder tray back on or this can be done after also.
Now we can start inserting the top punches through the keyed section whilst turning the handwheel so the upper tooling runs along with the top tracking. It’s important you hold the tooling head above the tracking and that it doesn’t fall like this, otherwise you will damage the tracking.
Once all your tooling is in place, rotate the handwheel so the keyed section is between 2 punches and re-insert the key and tighten with a 4mm Allen key.
You can now replace your perspex shield and hopper.
Once all your tooling is in place it’s important to run the machine by hand before turning it on.


